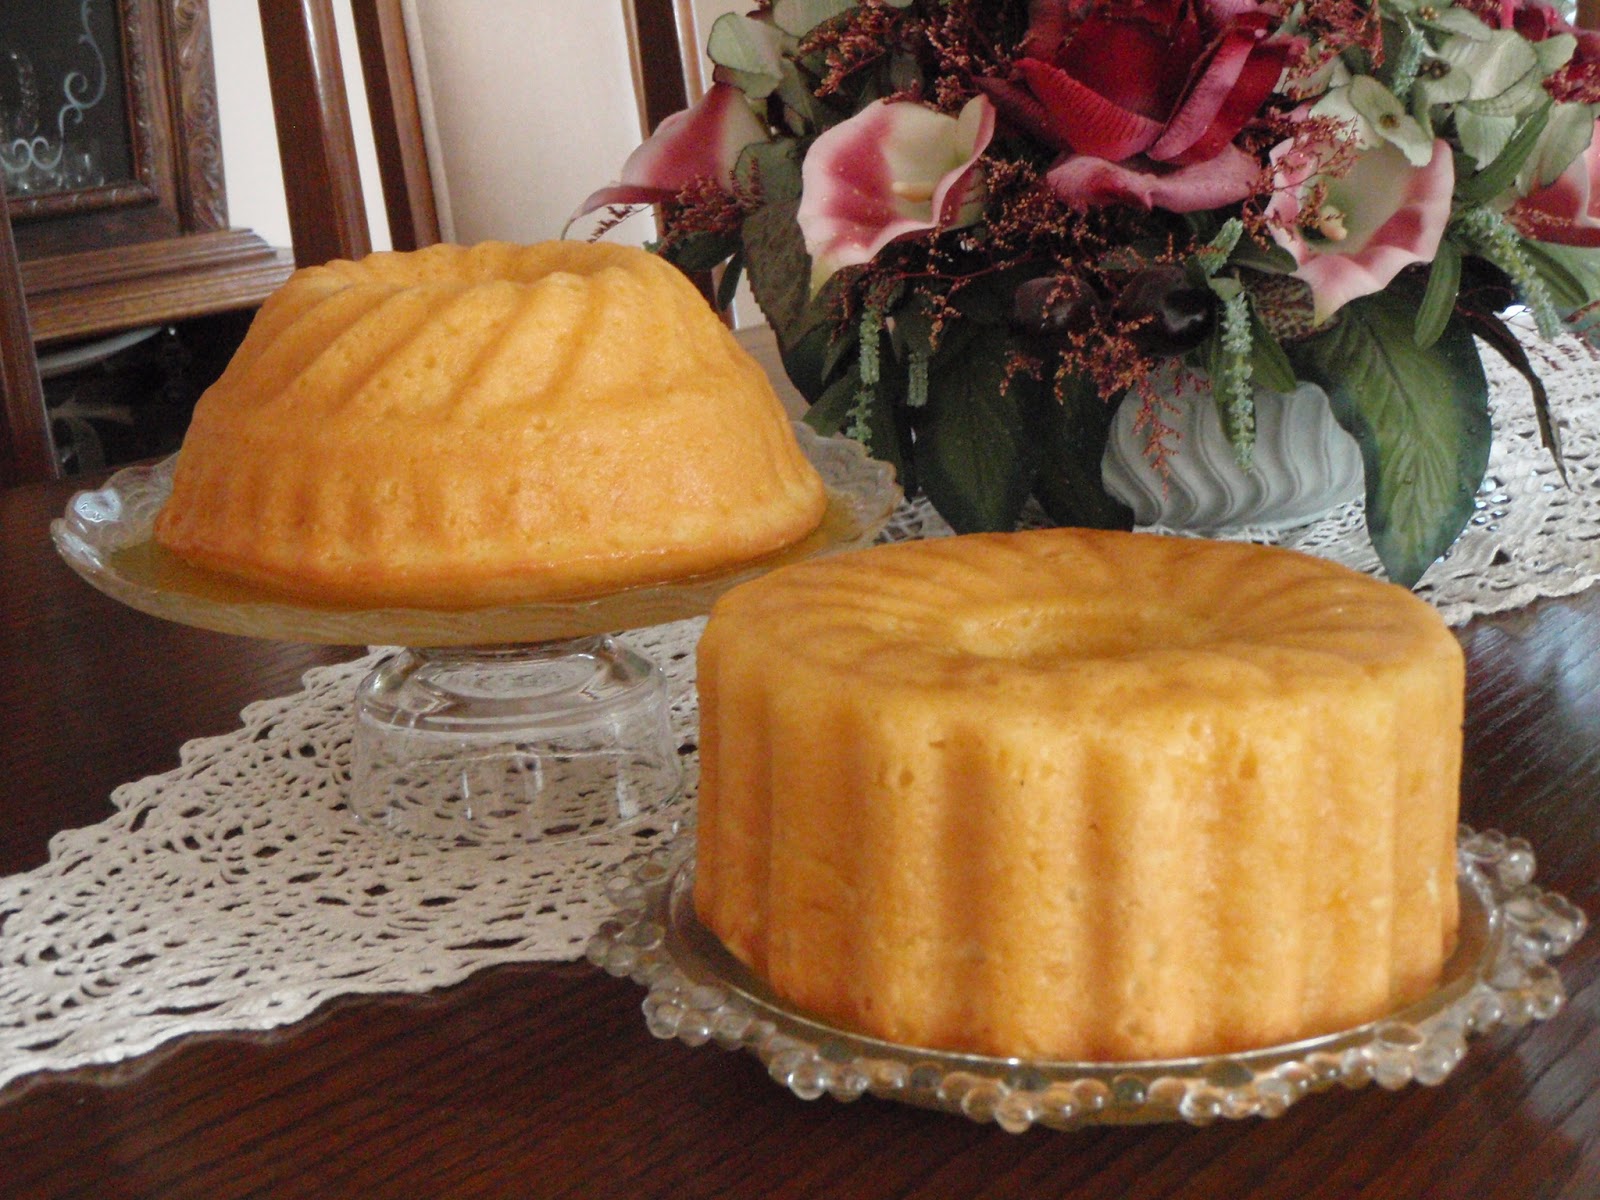
"Who wants cake?"

Monday, 18 July 2011

Cat in a Sombrero

Its my Best Friends 20th birthday and I had to make something special and epic. She adores cats so much that I knew that I had to incorporate that somehow into it. She also went to Mexico recently to study abroad so I thought it would be funny to put a cat in a sombrero. I could not stop laughing while making this cake, its completely ridiculous! The bottom round ended up looking like something out of the Saved by the Bell intro. This is by far my favourite cake to date. This was a chocolate cake with italian meringue buttercream, fresh strawberries  chocolate ganache, and gum ball decorations around the outside.


Cake Time Total: 6 hours

Wednesday, 6 July 2011

Toronto Maple Leafs

New Cake!!!! This one was done pretty quick, was told about it on Sunday and it was delivered today. This cake was made for my best friends Uncle. He is a HUGE fan of the Toronto Maple Leafs. I made a mini version of him complete with a customized jersey. I had a hard time finding a damn maple leaf cookie cutter even though Canada Day was six days ago haha. Well here it is.


Cake Time Total: 3.5 hours

Saturday, 2 July 2011

Yogurt Passion

So I was going through some cookbooks that I picked up at the library this week and came across the perfect recipe in which I could use the passionfruit pulp I randomly bought in Toronto a few weeks ago. In Donna Hay's "Seasons" cookbook, she has a recipe for yogurt and passionfruit syrup cake. I decided to give it a try today and see what happens. Drum roll please! Deliciousness certainly!

Yogurt and Passionfruit Syrup Cake

Ingredients

150g butter, softened
1 cup (220g) caster sugar*
1 tsp of vanilla extract
3 eggs
1 cup (280g) thick Greek-style natural yogurt
2 cups (300g) self-rising flour, sifted**

For the passionfruit syrup:

1 cup (250ml) passionfruit pulp
1/2 cup (125ml) water
1/2 cup (110g) caster sugar

* Caster sugar is also known as superfine sugar, however is is not powdered sugar, its like granular but just a little thinner. If you cannot find caster sugar you can also just take regular sugar and just throw it in a blender.
** If you don't have self-rising flour on hand you can substitute with all purpose flour. For every cup of all purpose flour you need to add 1 and 1/2 tsp of baking powder and 1/2 tsp of salt.

Directions

1) Preheat oven to 320 degrees F.
2) To make the passionfruit syrup, place passionfruit pulp, water, and sugar in a small saucepan over medium heat and stir until dissolved. Bring to a boil, reduce heat and cook for 10-15 minutes or until syrupy. Set aside.
3) Place the butter, sugar, and vanilla in the bowl of an electric mixer and beat for 10-15 minutes or until pale and creamy. Add the eggs, one at a time, beating well after each addition. Add the yogurt and beat until well combined. Fold through flour.
4) Spoon mixture into a lightly greased Bundt tin and bake for 35 minutes or until cooked when tested with a skewer.
5) Remove the cake from the tin and place in a serving plate. Spike the cake several times with a skewer. Drizzle cake with syrup while it is still warm.

Friday, 24 June 2011

Beam Me Up Scotty

This week I was given the challenge of making a Star Trek themed cake for a 50th birthday. Ive watched maybe one episode of Star Trek in my lifetime and I know nothing about the show, so this cake took a little research. They wanted something simple but funny. I made a square cake, chocolate sponge and chocolate buttercream. I wanted to make the cake into the shirt that they wear on Star Trek. I also decided to make a little gumpaste Spock with his signature hand gesture. The cake was looking good but needed something else, so on the front went the "Happy Birthday" and on the back "Live Long and Prosper". Tad-da! A Star Trek themed cake is born.


Cake Time Total: 4 hours

Sunday, 29 May 2011

Communion Cake

This weekend is communion week at my church. My childhood friend asked me to make her sisters communion cake....but she gave me the challenge of making it all buttercream, no fondant. Masking cakes can be a nightmare at times but I was willing to take the challenge. I had my friend from school Didier, come up from Toronto to help me with this cake since he is an amazing decorator and was really craving to make a cake. We made a chocolate and white sponge (alternating layers) with Italian meringue buttercream and fresh cut starwberries in between. For decorations, a cross, a communion girl, flowers, and a lamb since the name Rachel means "little lamb".


Cake Time Total : 6 hours

Friday, 27 May 2011

Gum Paste Tutorial

So gum paste was probably the best invention ever when it comes to cake decorating. You can mold it, but if you leave it to dry it goes rock hard. You can pre-colour it, you can paint it, you can airbrush it, and you can even dust it. This recipe was given to me in my wedding cake decorating class by Chef Klara Johnson. She swears by it, and it works perfectly everytime for me so I really wanted to share it. I took some pictures to go with it so I could create a step by step tutorial. Enjoy!


In a small bowl measure out 50g (1/4 cup) of warm water.


Add 8g (1 tbsp) of meringue powder. Set Aside.


In a separate bowl measure out 25g (2 tbsp) of cold water.


Add 7g (2 1/4 tsp) of gelatin to the cold water. Set aside and allow to bloom.


Measure out 425g (3 3/4 cups) of icing sugar, 30g (1/4 cup) of cornstarch, and 10g (1 tbsp) of gum tragacanth.


Sift them together into your mixing bowl.


Attach the paddle attachment to your mixer.


Measure out 15g (1 tbsp) of shortening.


Measure out 15 g (2 tsp) of liquid glucose.


In a double boiler heat the gelatin mixture until clear, be careful not to overheat.


Add the shortening and liquid glucose to the melted gelatin. Return to the double boiler if needed.


Turn your mixer on and keep it on from now on till the end. Add the gelatin mixture and 3 tbsp of the meringue mixture. Continue to mix the ingredients till they have become incorporated. If the paste is too dry add more of the meringue mixture. Increase the speed and mix for 3-4 minutes until the paste seems stringy as it comes away from the side of the bowl.


It should look something like this once its done mixing.


Remove the paste from the bowl and kneed in a small amount of shortening until the paste has smoothed out.


Cover with plastic wrap and put it into a zip-lock bag. Refrigerate for 24 hours before use, it needs to cure.

Directions for Use:

- Bring to room temperature and knead the required amount of shortening until soft and pliable.
- Roll out thinly on a non stick board lightly dusted with cornstarch.
- Use paste or gel colours to tint.

Storage:

- Refrigerate unused portions.
- Keeps for three months in the refrigerator.
- Freezable for up to six months.

Sunday, 15 May 2011

Verrines!

While I was in France I was able to buy some verrine glasses and spoons. If you dont know what a verrine is, well first off its French, and its supposed to mimic the layers in an entremet, which is a cake of many layers. So basically a mini, one portion serving of an entremet. They are served in glasses so that you can see all the layers in them.


Starting from top down:

-single almond and salted caramel drizzle-
-dark chocolate mousse-
-espresso sponge-
-dark chocolate mousse-
-salted caramel-
-coconut sponge-
-salted caramel-
-crushed almonds-